Sign In
 Create Account


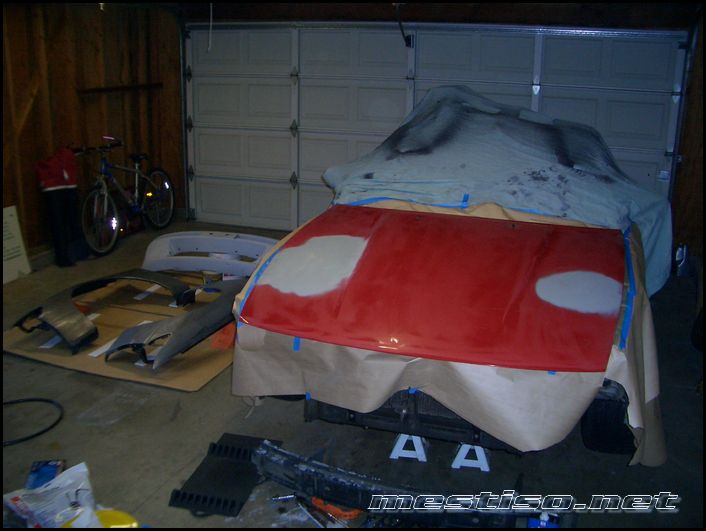
Parts that I used:
SPL pro outer tie rod ends from http://splparts.com/
Replacement Z32 inner rods from http://splparts.com/ but if you want to get them some where else here is the part number. Made by QSTEN, Part numbers: TRI 013 48521 10V08
McQuay-Norris rack boots from Kragen part number FA8029.
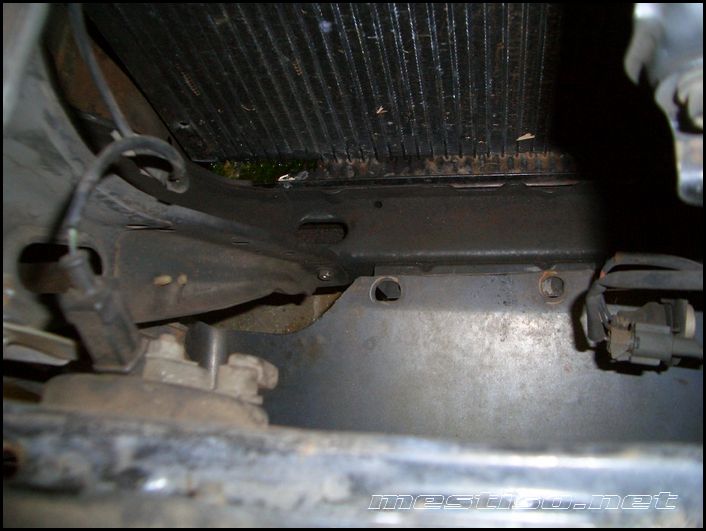
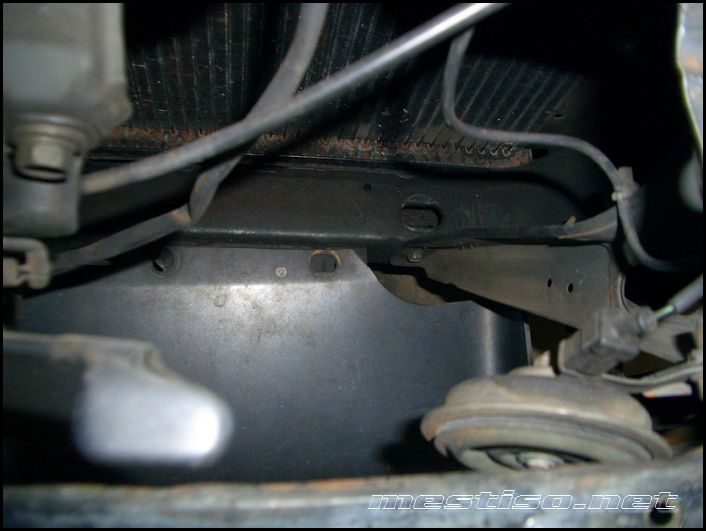
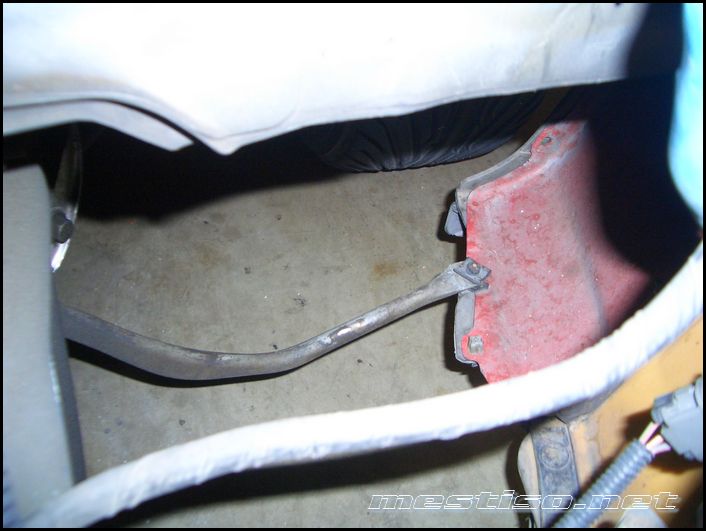
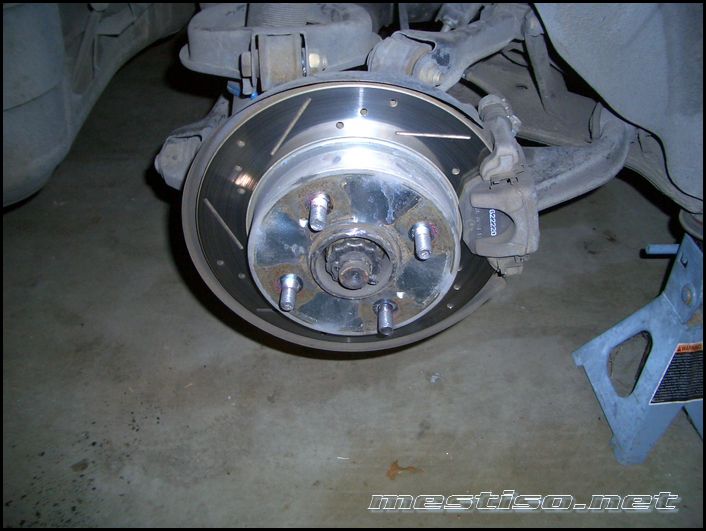
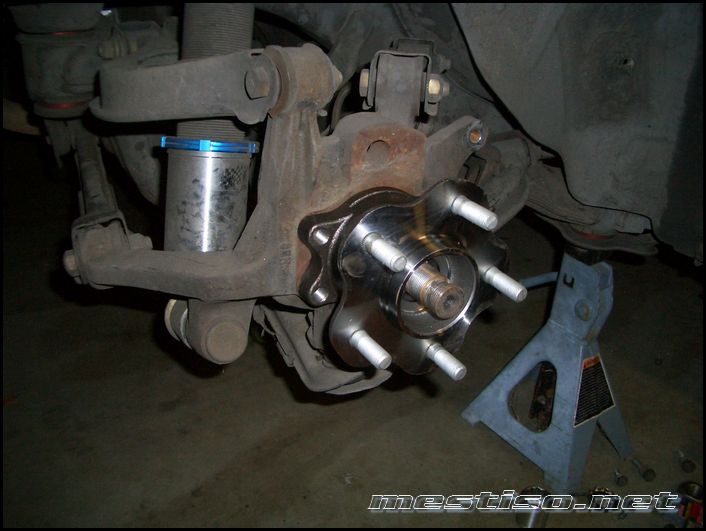
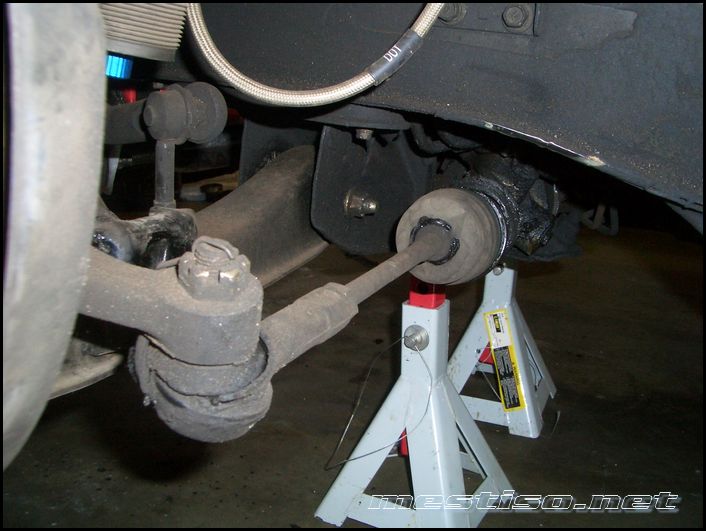
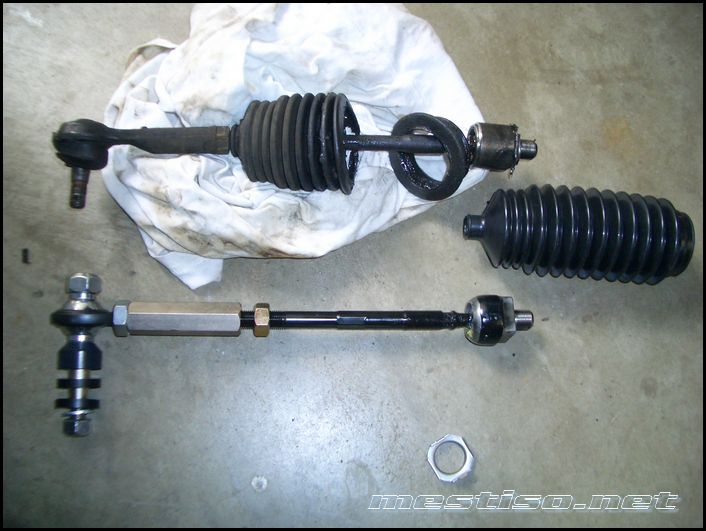
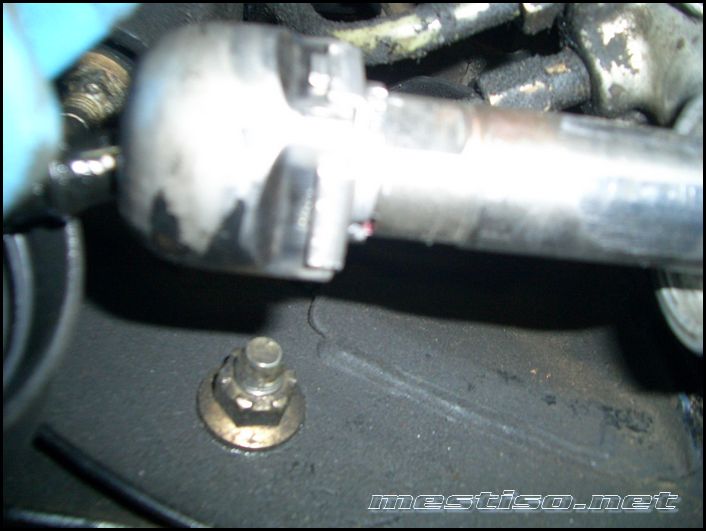
Here is the stock inner and outer rods. As you can see my rack leaks and the boots are torn. No problem tho, later I am going to change out the rack to Hicas version for a quicker sterring ratio.
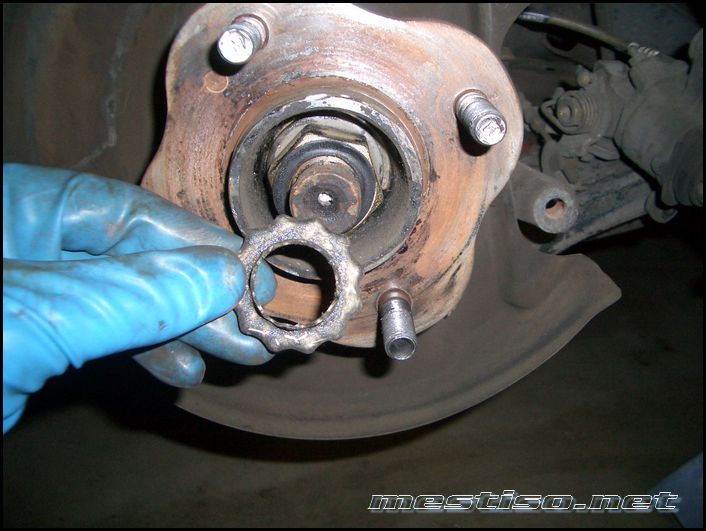
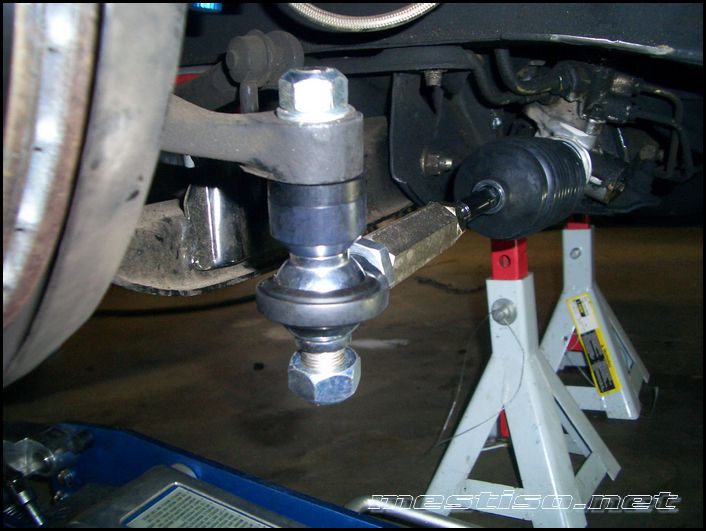
Remove the cotter pin and castle nut from the rod end ball joint. Then use a ball joint popper or pickle fork to knock the ball joint from the spindle.
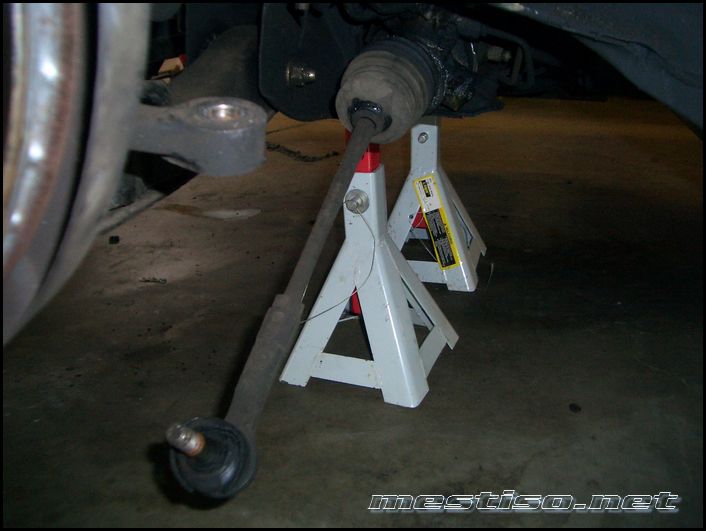
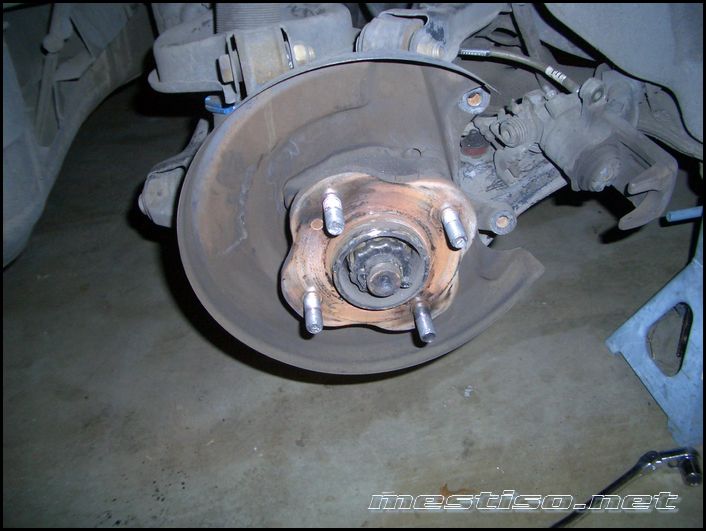
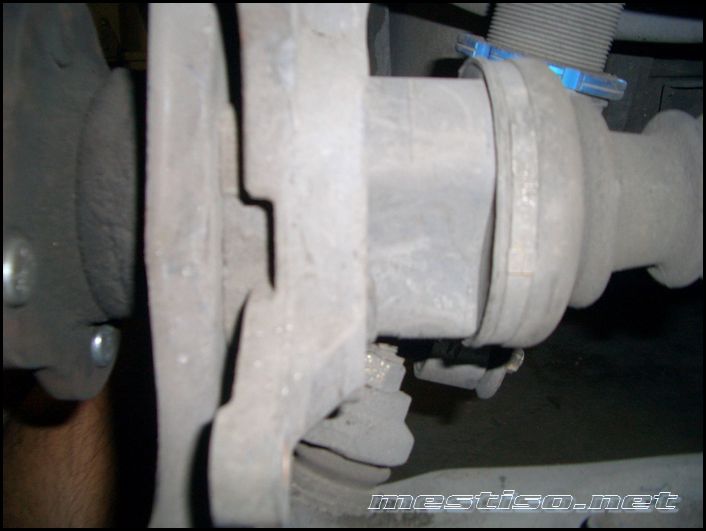
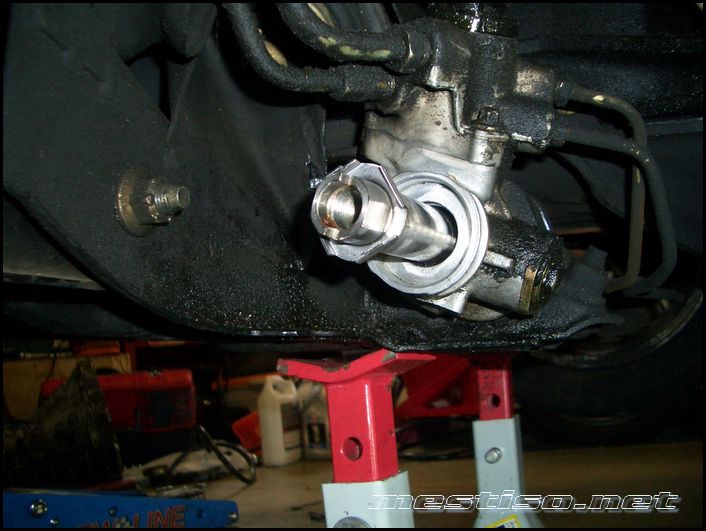
Now cut the tie down holding the rack boot to the steering rack and pull it out of the way.
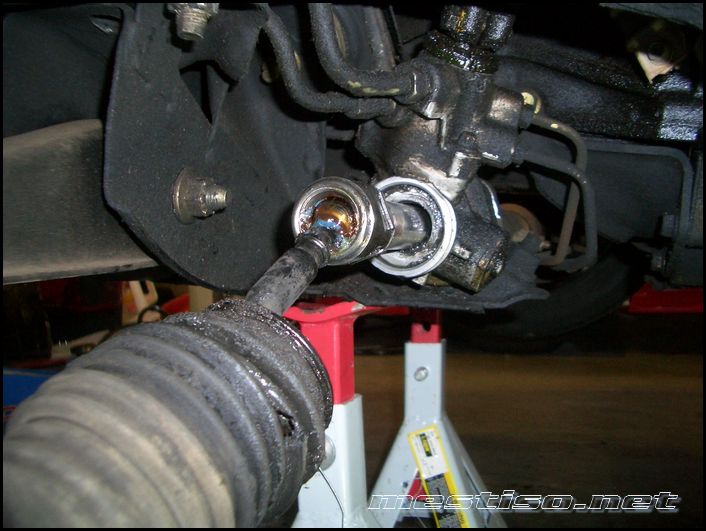
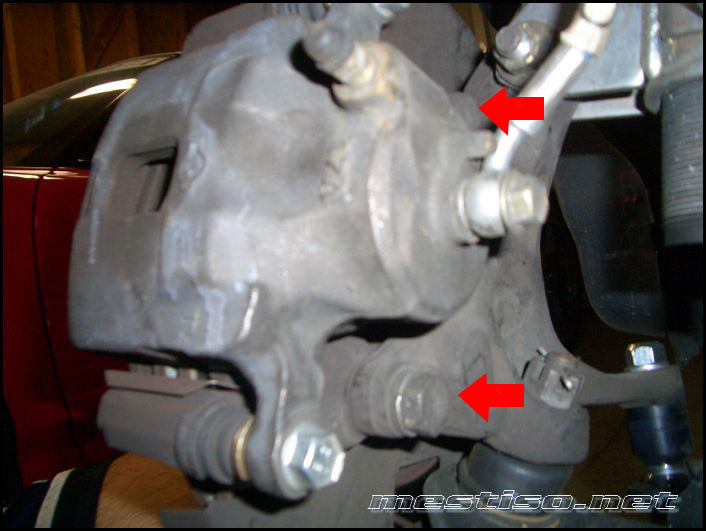
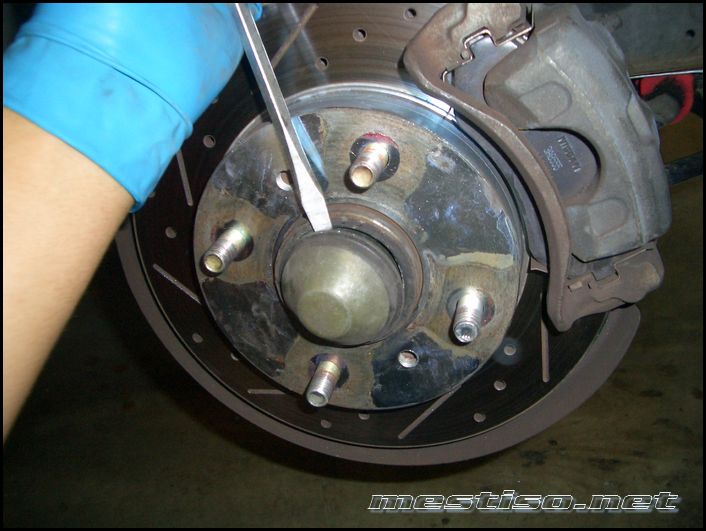
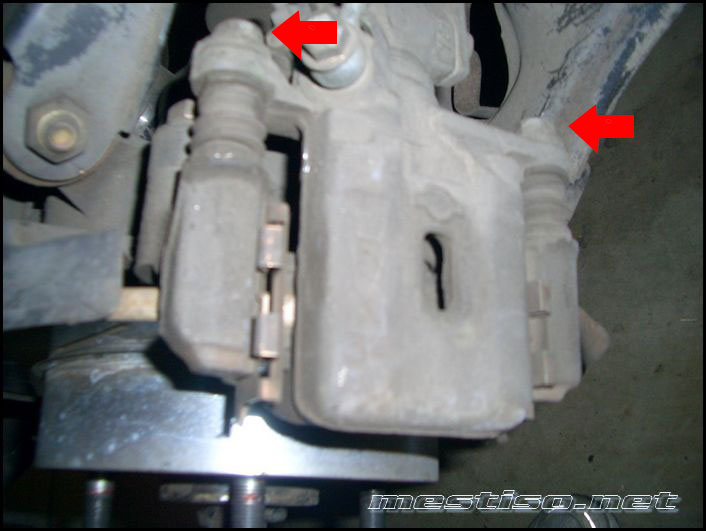
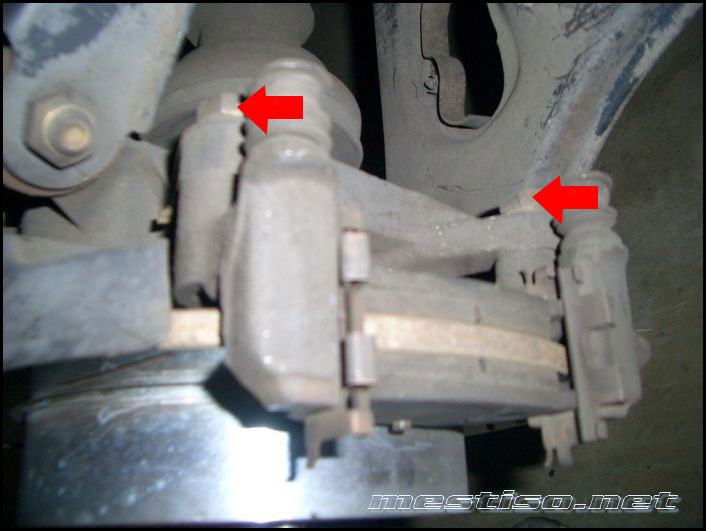
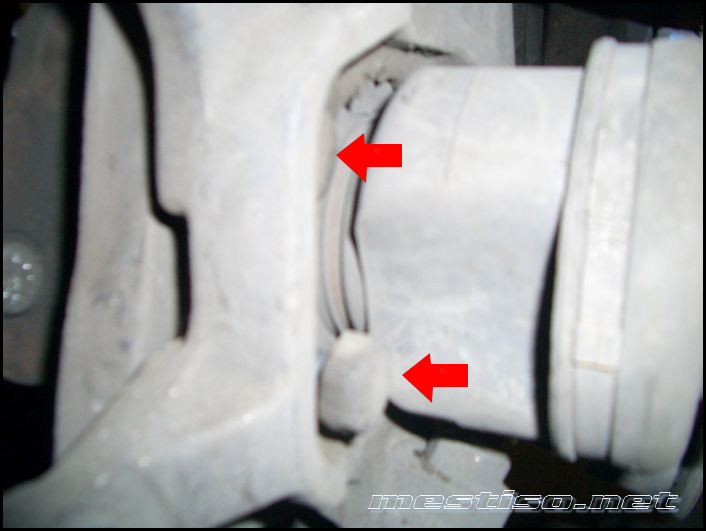
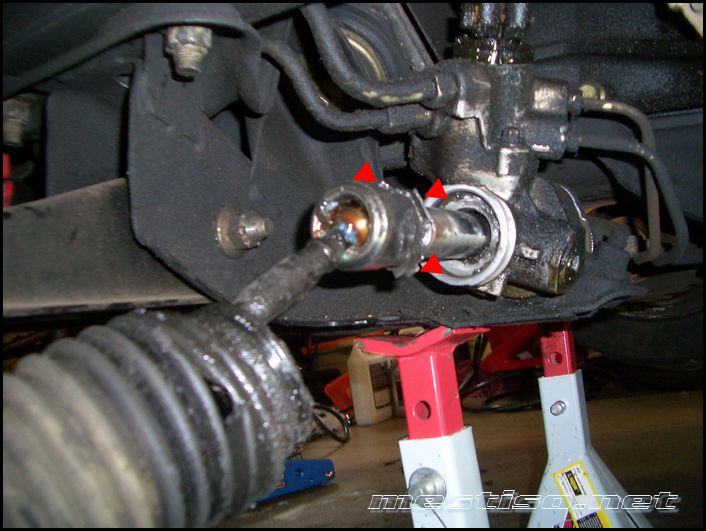
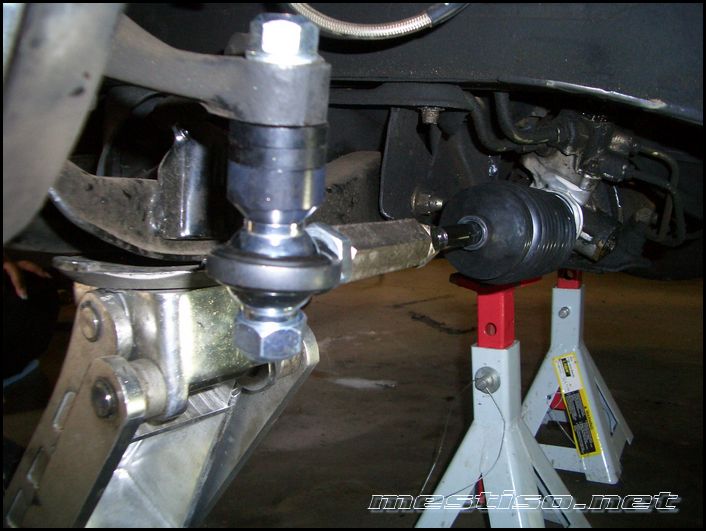
At this point you pry the locking flange tabs back from the inner rod end. This will allow you to loosen the rod and remove it from the steering rack. There are 4 tabs but in the picture you can only see 3 that I labeled with red arrows.
Here is the stock setup vs the SPL setup. If your alignment was previously done then you should be able to just make the new inner and outer rods the same length as the stock setup. This will get u by till you get it to an alignment shop. However my car was way out of alignment when I got it so I used an old technique using a string to align it. This will have to do until I can get it to a place that can work on my car since it's so low. Make sure you install the rack boot before you fully assemble the inner and outer rods.
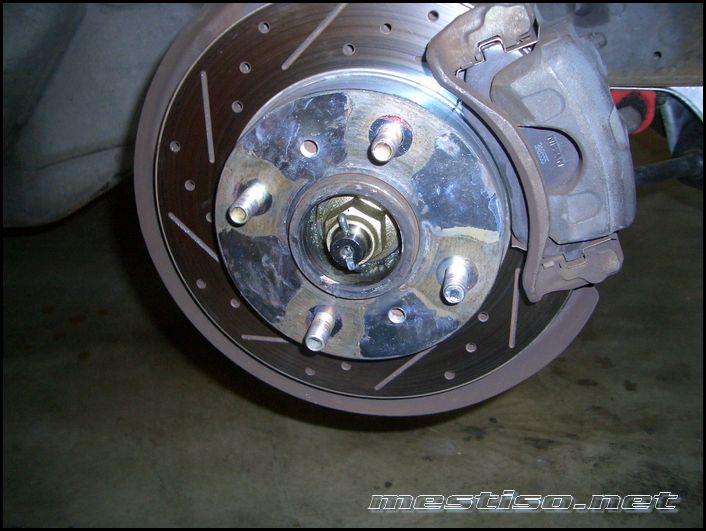
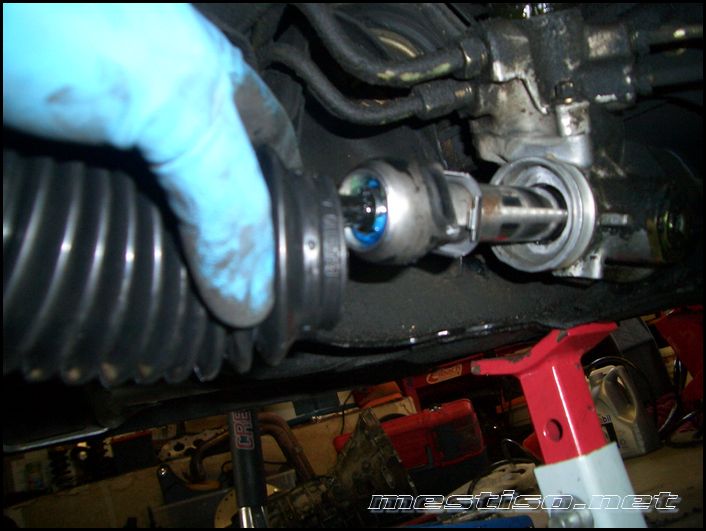
Now I cleaned up the rack end with some brake clean, then slide the locking flange onto the rack.
Screw the inner rod into the steering rack and tighten it down to factory specs.
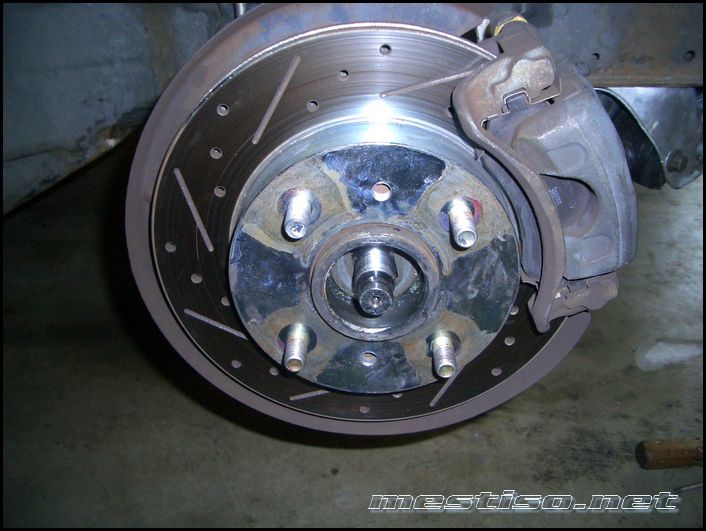
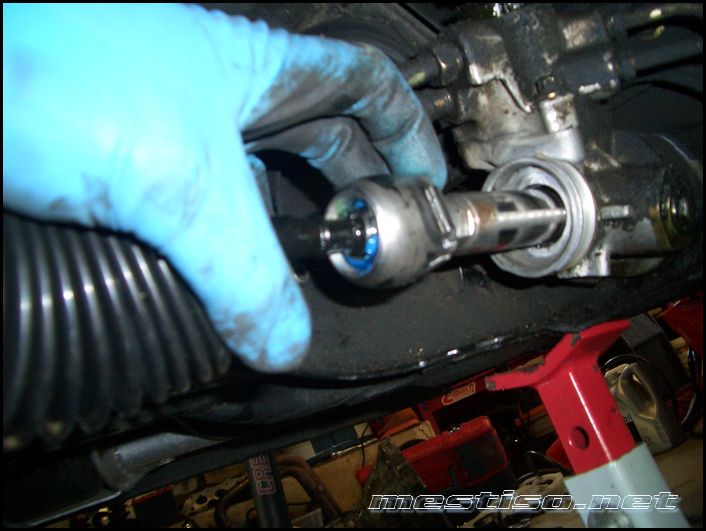
Now slide the locking flange onto the end of the inner rod end.
At this point you dimple the end of the locking flange to stop it from backing away from the rod end. There is a small cut in the rack end where you take a punch and dimple the flange. The pic I took is blurry but if you look you can see a small red grease spot where I dimpled the flange.
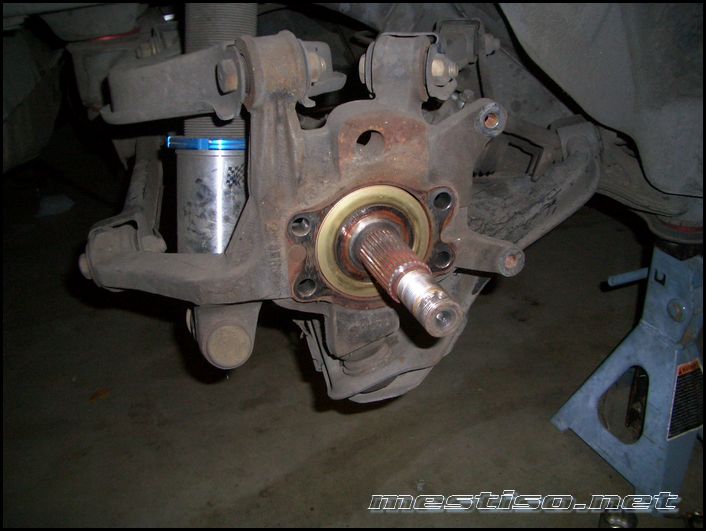
Install the SPL rod end shank onto the spindle as shown using a washer/locknut and then use the 2 gold colored nuts as shown to hold the shank from spinning. Torque the upper nut to 10-15 ft/lbs.
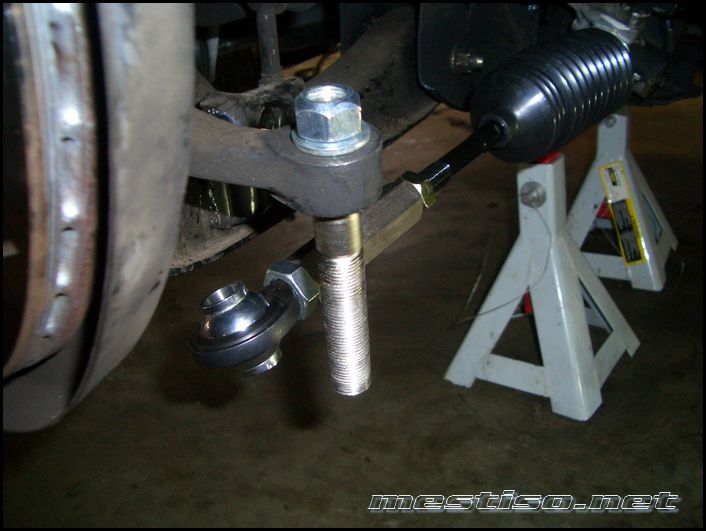
Remove the 2 gold colored nuts. Now you can install the shank into the rod end. At this point you have a few options with the bump steer spacers. If you dont have a bump steer gauge then SPL recomends making the rod sit paralell with the lower control arm. All you need to do is install the bump steer spacers loosly with the lower nut and then jack up the LCA until the wieght of the car is resting on the jack. This should be as close to your ride hieght as you would get on the ground. Now you should be able to see how many spacers you need to accomplish this.
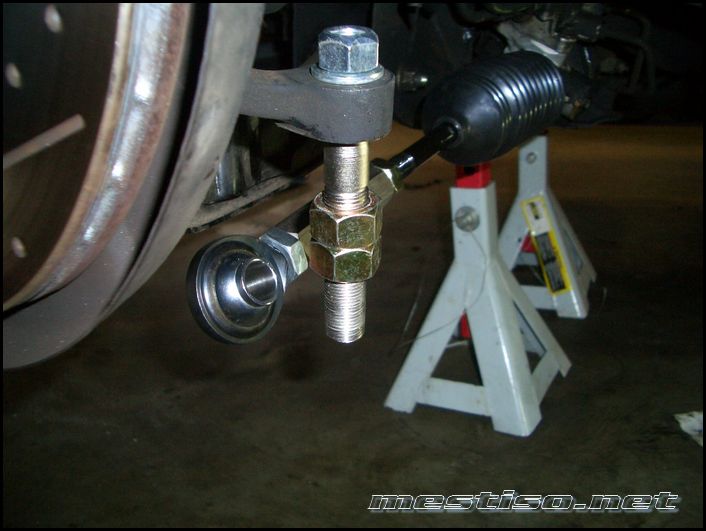
Here I tried 2 spacers and you can see even before jacking it up they would probablly not be enough.
Now that I found it takes 3 spacers on my setup I torqued the lower lock nut to 10-15 ft/lbs. As you can see in the pic with the cars weight on the jack that my steering rod is paralell with the LCA.
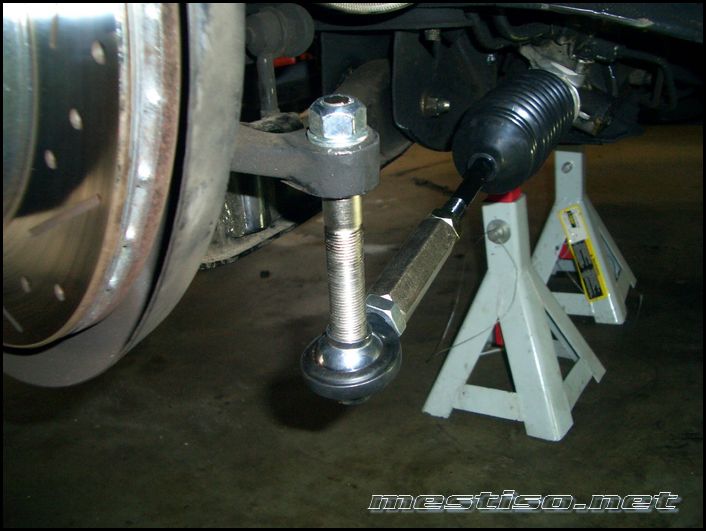
After you do all of that you can secure the rack boots with the supplied zip ties and then tighten down all the adjustment lock nuts on the inner and outer rods.

 Back to top