 Sign In
 Create Account


Front Coversion:
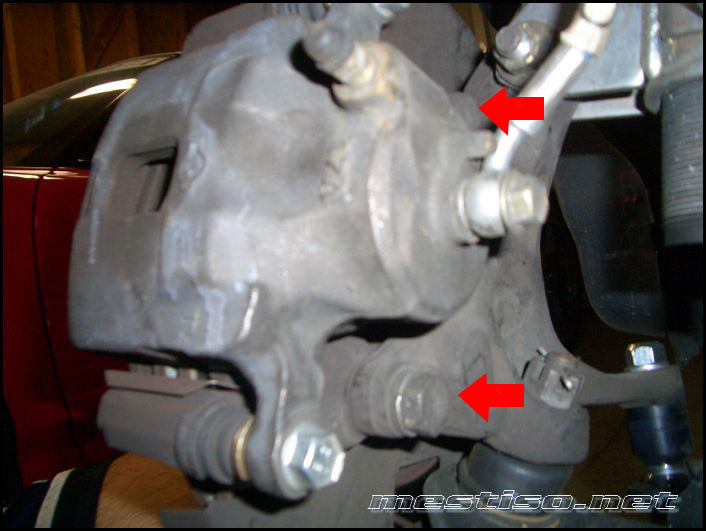
Jack the car up, remove the wheel and then remove the 2 caliper mount bolts. After you remove the bolts you can swing the caliper out of the way in one piece. Then you just zip tie or wire tie the caliper up.
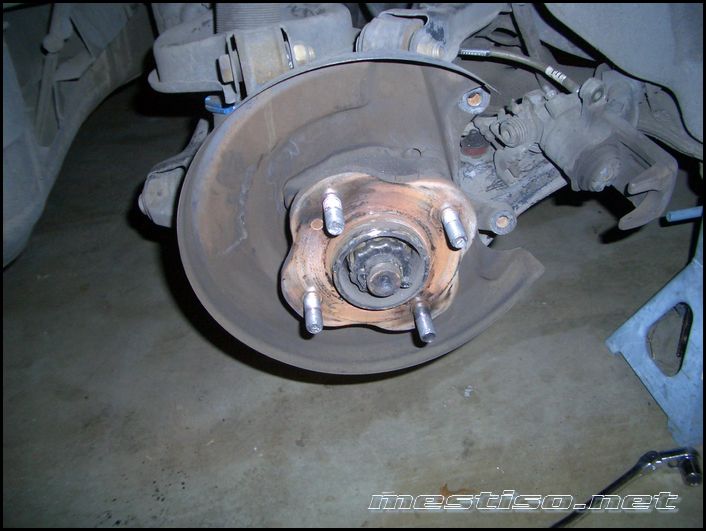
Pop the dust cap, then remove the cotter pin, spindle nut and washer.
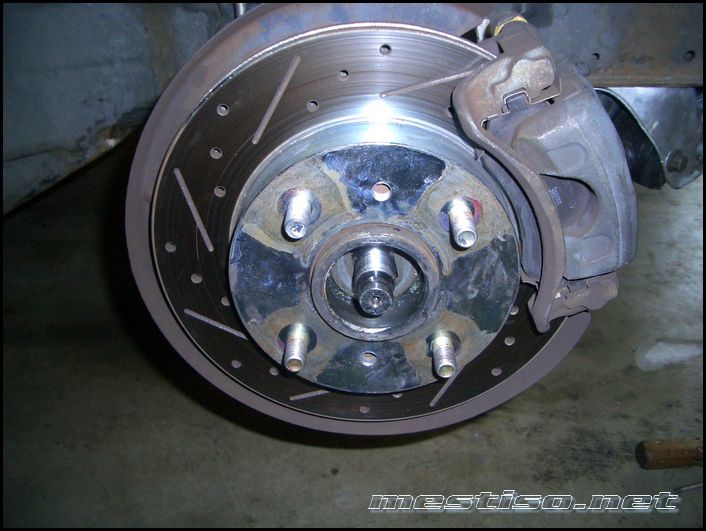
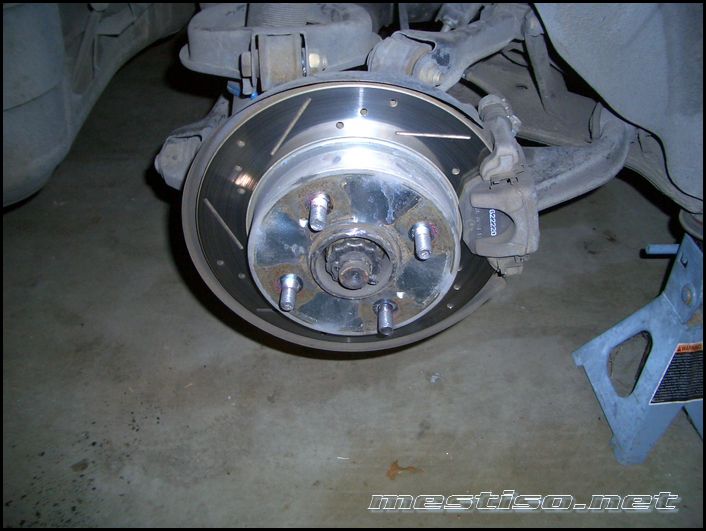
Now you can remove the rotor.
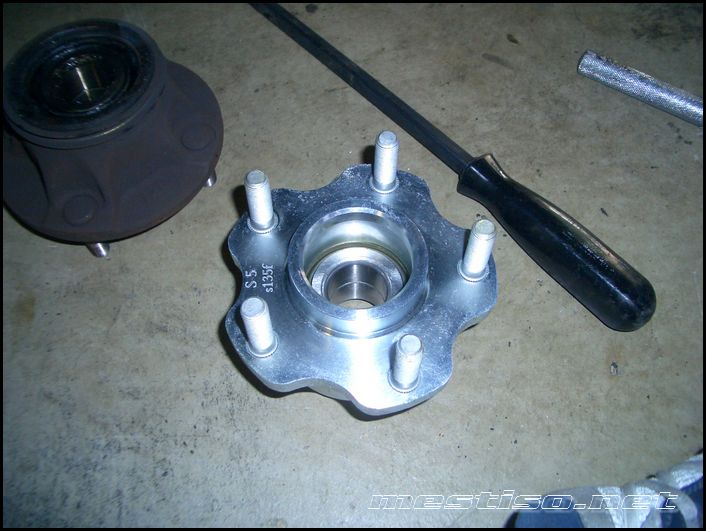
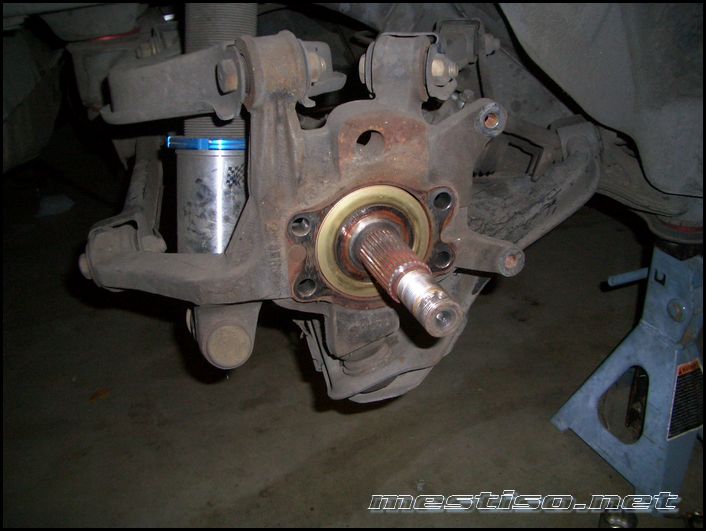
Then just pull the 4 lug hub and bearing off and clean up the spindle with a rag.
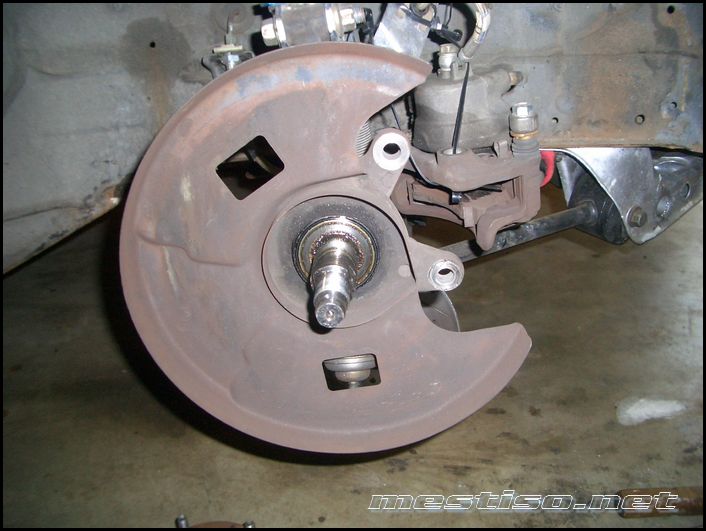
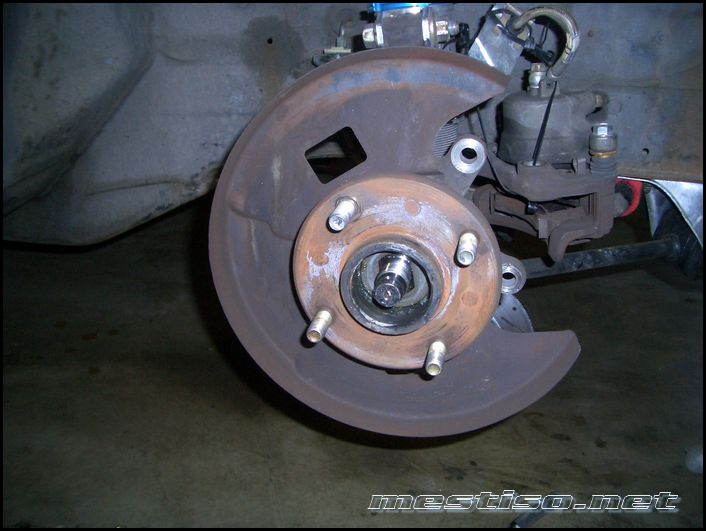
Here the spindle has been cleaned and the dust shield has been removed. Removing the dust shield is what I did but this is not a part of the 5 lug install.
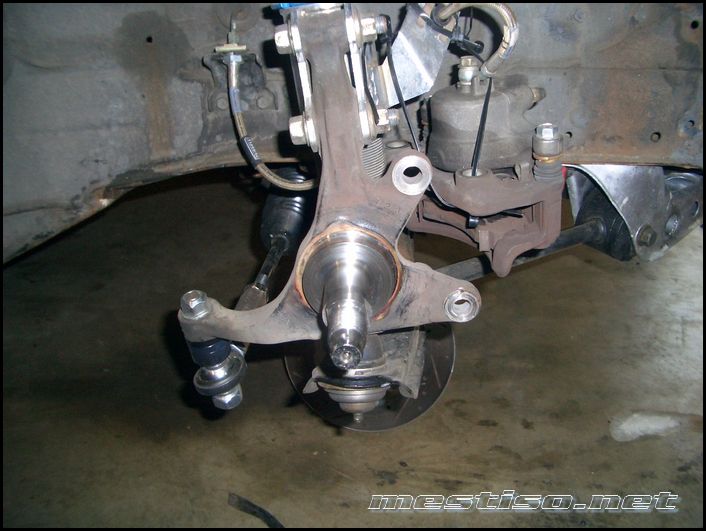
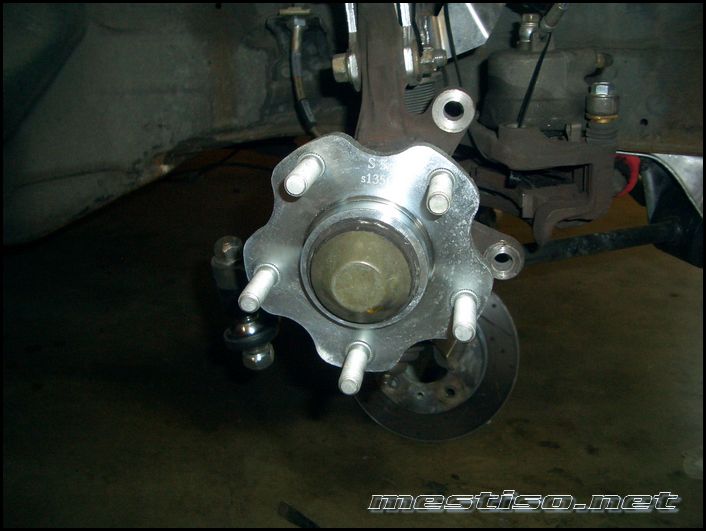
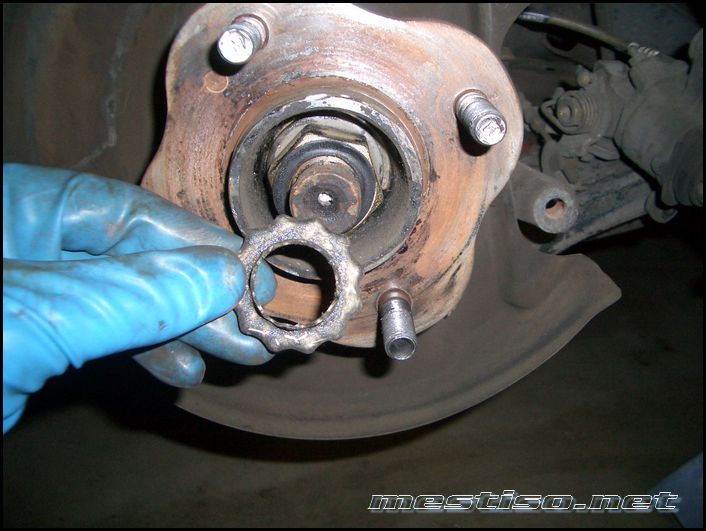
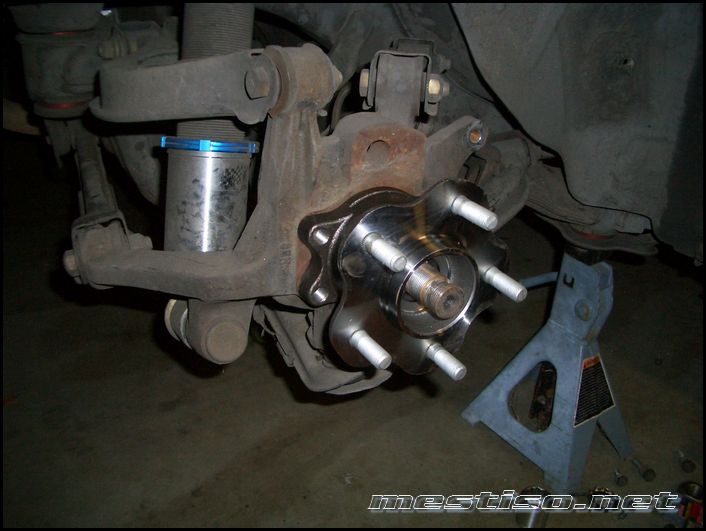
Now get your 5 lug hub/bearing and slide it on to the spindle.
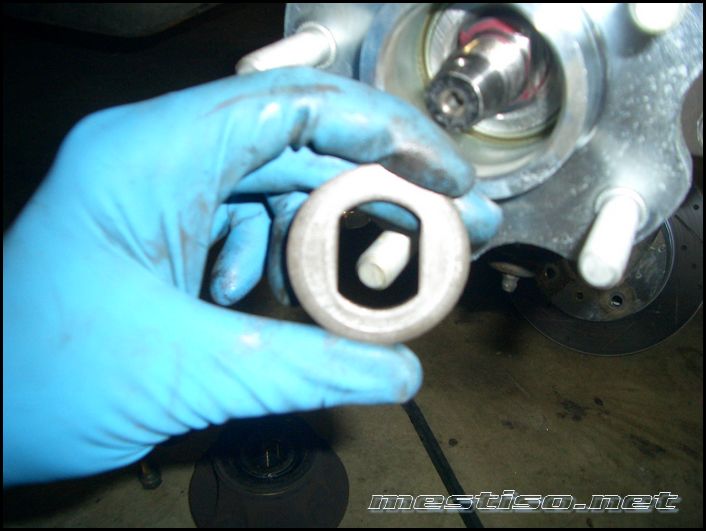
After you slide the hub/bearing on, install the spindle washer.
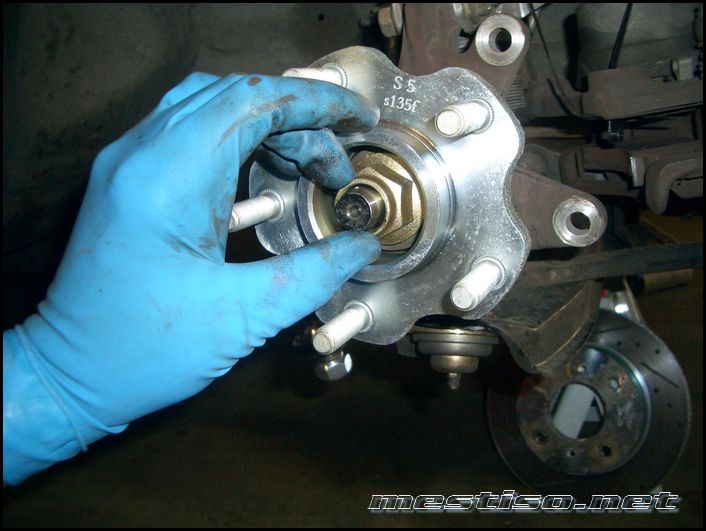
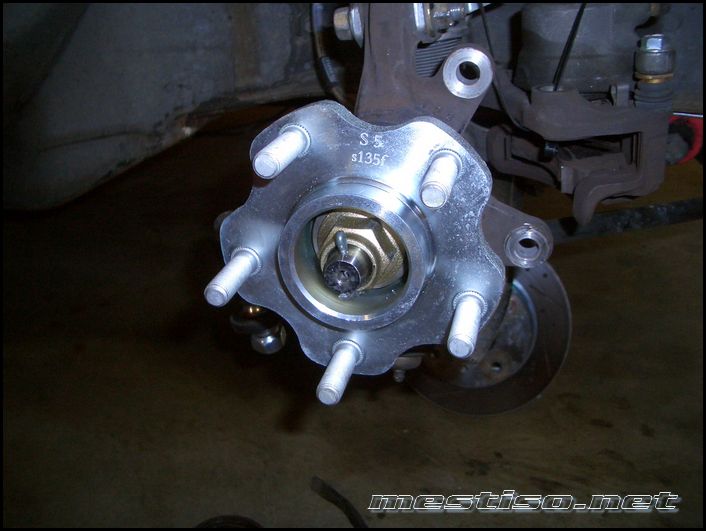
Then install the spindle nut, run it on by hand and torque to factory specs. Once it's torqued reinstall the cotter pin and dust cap. Viola Front 5 lug installed. At this point you can either redrill your stock rotors to 5x114.3 or install S14 SE rotors.
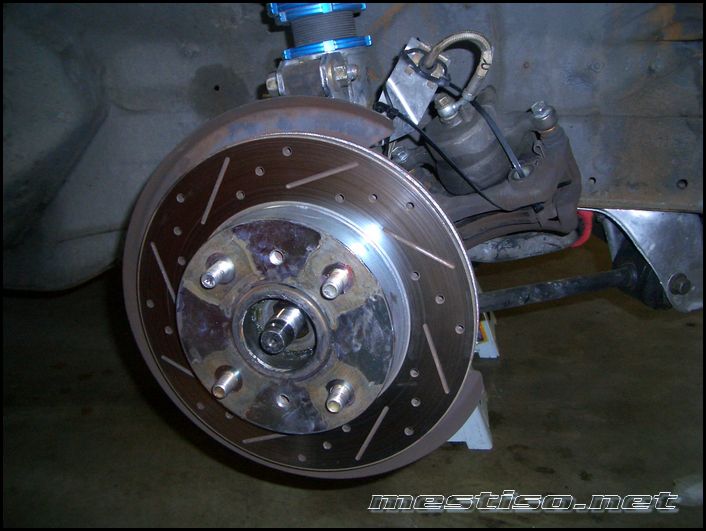
Rear 5 lug conversion.
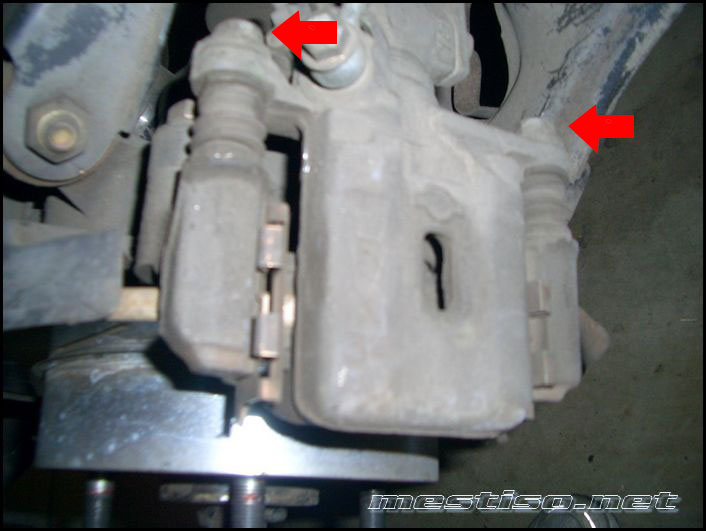
Jack the car up, remove the wheel and then remove the 2 caliper bolts, swing the caliper out of the way and tie it up.
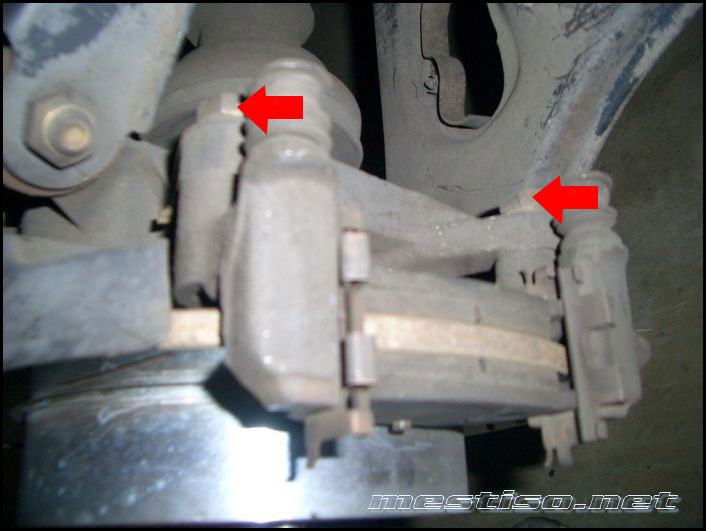
Now remove the caliper mount bolts and pull the mount with the pads as one piece.
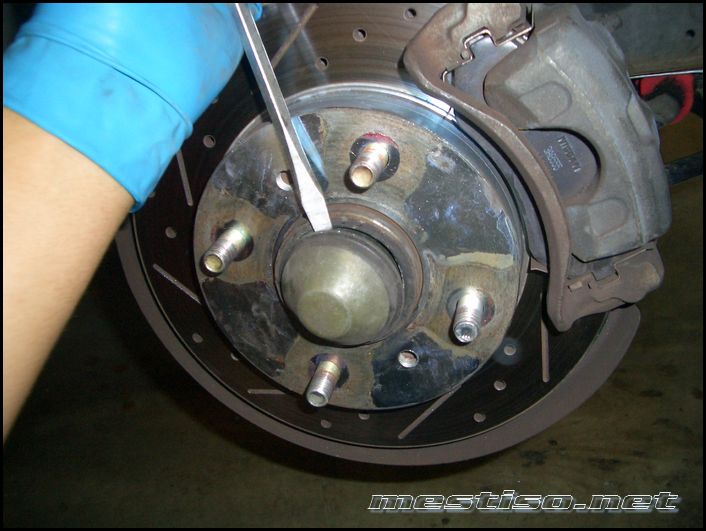
Pull the rotor off and remove the cotter pin.
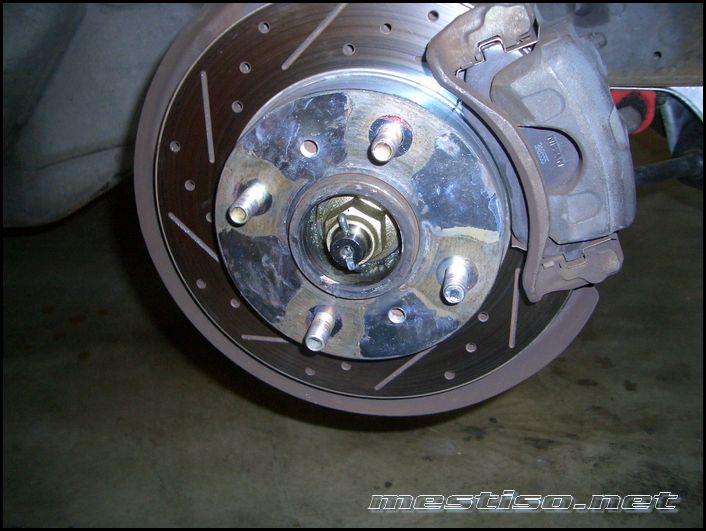
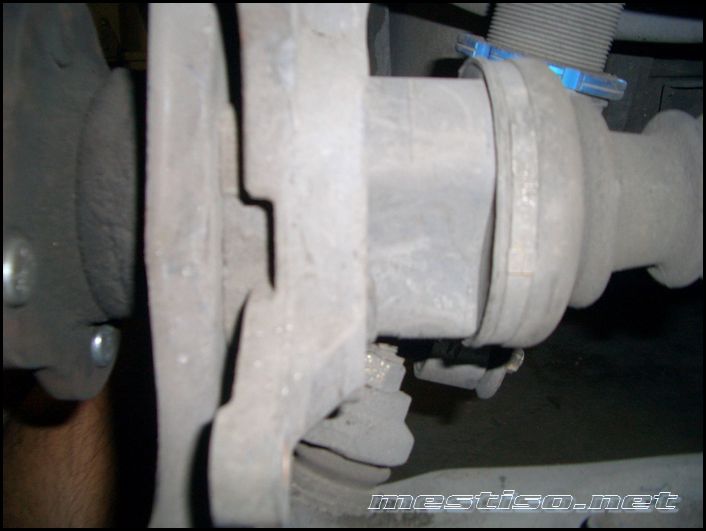
Now remove the axel lock clip and axel nut.
Now from the back side to remove the hub there are 4 bolts, these are access by using the cut out reliefs in the axel itself. Rotate the axel until you can get a socket wrench on bolt then just repeat this till all 4 bolts have been removed.
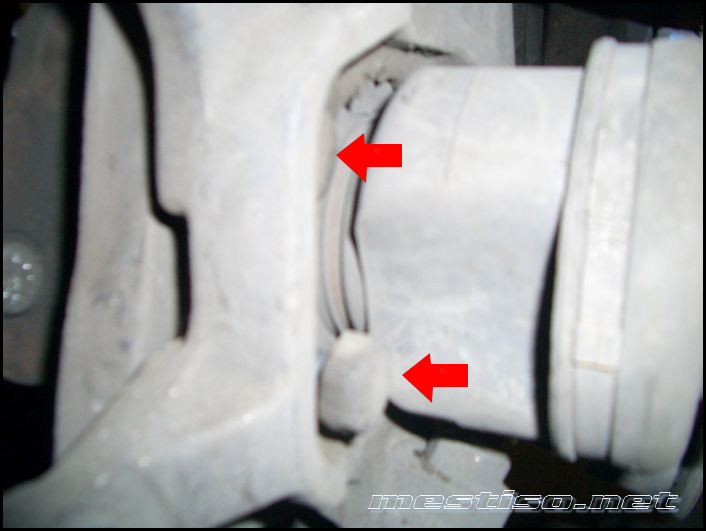
Here you can see the relief in the axel.
In this pic you can see 2 of the 4 bolts holding the hub/bearing on.
Now just pull the hub/bearing off and install the new 5 lug/bearing in the reverse order. In my case I trimmed the dust sheild and reinstalled it.

 Back to top


